Welcome to our comprehensive guide on mastering the art of furniture restoration. Whether you have inherited a cherished antique piece or stumbled upon a hidden gem at a flea market, restoring old furniture can be a rewarding and fulfilling endeavor. This step-by-step guide will provide you with all the information you need to revive and breathe new life into your old furniture pieces. From assessing the condition of the furniture to choosing the right restoration techniques, we’ve got you covered.
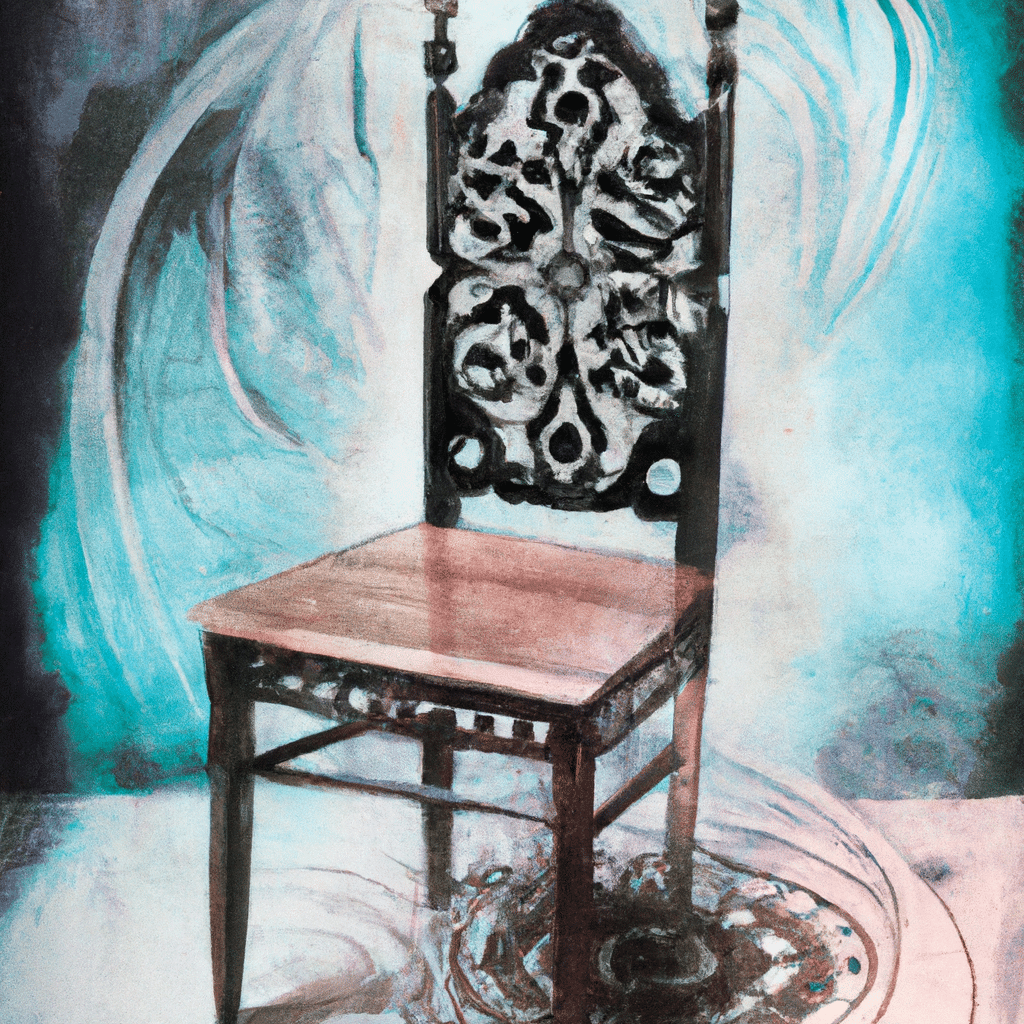
Assessing the Condition of Your Furniture
Before diving into the restoration process, it is essential to assess the condition of your furniture. This initial step will help you determine the extent of restoration required and plan your approach accordingly. Here are a few key aspects to consider:
Structural Integrity
Inspect the furniture for any structural issues such as loose joints, broken parts, or wobbly legs. Addressing these issues should be your top priority before moving on to aesthetic improvements.
Surface Damage
Examine the surface of the furniture for scratches, dents, watermarks, or discoloration. Understanding the type and severity of the damage will guide your choice of restoration techniques and materials.
Originality and Historical Value
If you suspect that your furniture holds historical value or is an antique piece, consult with experts or conduct research to ensure that your restoration efforts preserve its originality and value.
Gathering the Right Tools and Materials
To successfully restore your furniture, you’ll need to gather the necessary tools and materials. Here’s a list of essential items you should have on hand:
Tools
- Screwdrivers and drills
- Clamps and vises
- Chisels and scrapers
- Sandpaper and sanding blocks
- Paintbrushes and rollers
- Wood glue and putty
Materials
- Stain or paint
- Varnish or sealant
- Upholstery fabric or leather
- Nails, screws, and other hardware
Stripping and Cleaning the Furniture
Before applying any restoration techniques, it is crucial to strip away old finishes and clean the furniture thoroughly. Follow these steps for effective stripping and cleaning:
- Start by removing any hardware or upholstery from the furniture.
- Apply a chemical stripper or use sandpaper to remove the existing finish from the surface.
- Scrub the furniture with a mixture of warm water and mild detergent to remove dirt and grime.
- Rinse the furniture with clean water and allow it to dry completely before proceeding.
Repairing and Restoring Damaged Parts
Once your furniture is stripped and clean, it’s time to address any damaged parts. Repairing these areas will ensure the structural integrity of the piece and enhance its overall appearance. Here are some common repairs you may encounter:
Joint and Frame Repair
Use wood glue and clamps to fix loose joints or broken parts. Reinforce weak areas with additional screws or dowels if necessary.
Surface Restoration
To repair scratches or dents on wooden surfaces, fill them with wood putty or epoxy. Sand the area until smooth and blend it with the surrounding wood grain.
Upholstery Replacement
If your furniture has upholstered parts, consider replacing worn-out fabric or leather. Remove the old upholstery carefully and attach new material using appropriate techniques such as stapling or sewing.
Refinishing and Enhancing the Furniture
Now that you have repaired and restored the furniture, it’s time to refinish and enhance its appearance. Follow these steps to achieve a beautiful and polished result:
Staining or Painting
Choose a stain or paint color that complements your desired aesthetic. Apply the chosen finish evenly, following the manufacturer’s instructions. Multiple coats may be required for a more vibrant result.
Varnishing or Sealing
Once the stain or paint has dried, apply a protective varnish or sealant to safeguard the surface and enhance its durability. Select a finish that suits the type of furniture and the level of use it will receive.
Hardware Replacement
Consider replacing worn or outdated hardware, such as handles or knobs, to add a fresh touch to your restored furniture. Choose pieces that match the style and era of your piece.
Maintenance and Care Tips
Congratulations on successfully restoring your furniture! To ensure its longevity and preserve its beauty, here are some maintenance and care tips:
- Dust regularly to prevent the buildup of dirt and grime.
- Use coasters or placemats to protect surfaces from spills and heat.
- Avoid placing furniture in direct sunlight to prevent fading or discoloration.
- Apply touch-ups or resealing as needed to maintain the furniture’s appearance.
Conclusion
Restoring old furniture is a gratifying journey that allows you to breathe new life into cherished pieces. By following this comprehensive step-by-step guide, you now possess the knowledge and skills to take on any furniture restoration project. Remember to assess the condition, gather the right tools, and proceed with careful stripping, repairing, and refinishing. With patience and dedication, you can master the art of furniture restoration and enjoy the beauty of your revived pieces for years to come.


