Are you tired of your old, worn-out wooden dining table? Are you looking for a cost-effective way to breathe new life into it? Look no further! In this comprehensive guide, we will walk you through the process of refinishing your wooden dining table to give it a stunning makeover. With just a little bit of time, effort, and creativity, you can transform your drab table into a fabulous centerpiece that will impress your guests and elevate the overall aesthetics of your dining area. So, let’s dive right in and get started on this exciting DIY project!
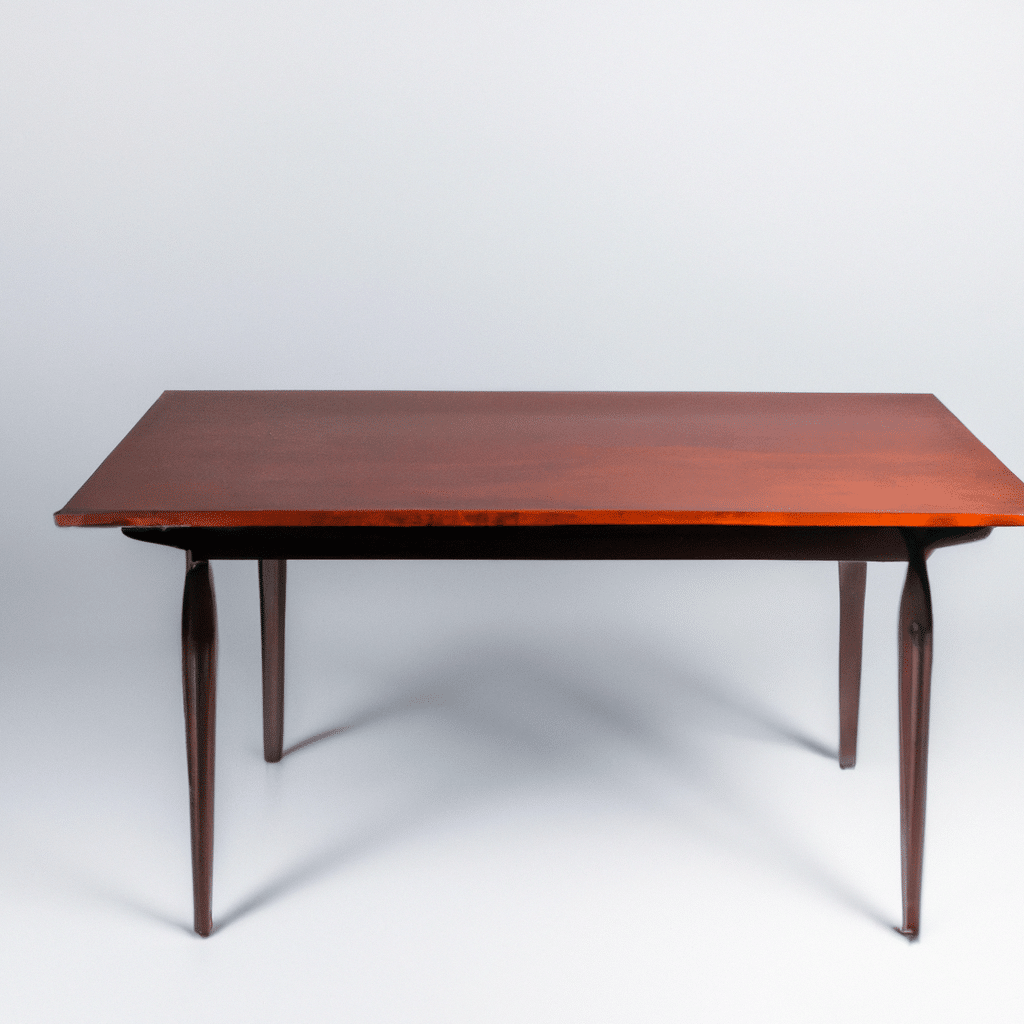
1. Assessing the Condition of Your Dining Table
Before diving into the refinishing process, it’s important to assess the current condition of your dining table. Take a close look at the surface, legs, and any other components. Are there any scratches, dents, or watermarks? Is the finish peeling or faded? Understanding the extent of the damage will help you determine the best course of action for refinishing your table.
2. Gathering the Necessary Tools and Materials
To successfully refinish your dining table, you’ll need a few essential tools and materials. Here’s a list of what you’ll need:
- Sandpaper (in various grits)
- Paint or stain stripper
- Paintbrushes
- Drop cloths or old newspapers
- Safety goggles and gloves
- Wood filler
- Putty knife
- Clean cloth
- Primer
- Paint or stain of your choice
- Clear sealant or varnish
Make sure you have all these items ready before you begin the refinishing process. This will save you time and ensure a smooth workflow.
3. Preparing Your Workspace
Refinishing a dining table can be a messy task, so it’s important to prepare your workspace properly. Start by covering the floor with drop cloths or old newspapers to protect it from any spills or drips. Open windows or use fans to ensure proper ventilation. Additionally, wearing safety goggles and gloves will protect you from any potential hazards during the refinishing process.
4. Stripping the Old Finish
Now that your workspace is ready, it’s time to strip the old finish from your dining table. Begin by applying a paint or stain stripper according to the manufacturer’s instructions. Use a paintbrush to evenly coat the surface, making sure to cover all areas. Allow the stripper to sit for the recommended time, usually 15-30 minutes, or as specified on the product.
Once the stripper has done its job, use a putty knife to gently scrape off the old finish. Be careful not to damage the wood underneath. If there are any stubborn spots, you can use a fine-grade steel wool to remove them. Once the old finish is completely removed, wipe down the table with a clean cloth to remove any residue.
5. Repairing and Sanding the Surface
After stripping off the old finish, you may notice imperfections on the surface of your dining table. This is the perfect time to repair any scratches, dents, or holes. Use wood filler to fill in these imperfections and allow it to dry completely. Once dry, use sandpaper to smooth out the surface. Start with a coarse-grit sandpaper to remove any roughness, and gradually move to finer-grit sandpaper for a smoother finish. Sand in the direction of the grain to avoid damaging the wood fibers.
6. Applying Primer and Paint or Stain
Now that your dining table is smooth and repaired, it’s time to move on to the exciting part – applying primer and paint or stain. Applying a primer will create a smooth base for the paint or stain to adhere to and ensure a long-lasting finish.
Begin by applying a thin, even coat of primer using a paintbrush. Allow the primer to dry completely before moving on to the next step. Once the primer is dry, you can start applying your chosen paint or stain. Use long, smooth strokes to achieve an even application. Depending on the desired look, you may need to apply multiple coats, allowing each coat to dry before applying the next.
7. Sealing and Protecting Your Refinished Table
To protect your newly refinished dining table and enhance its longevity, it’s important to seal it with a clear sealant or varnish. This will provide a protective barrier against spills, scratches, and daily wear and tear.
Ensure that the paint or stain is completely dry before applying the sealant. Use a clean paintbrush to evenly apply the sealant, following the manufacturer’s instructions. Allow the sealant to dry completely before using your dining table.
Conclusion
Congratulations! You have successfully transformed your drab wooden dining table into a fabulous piece of furniture that will impress everyone who lays eyes on it. By following the steps outlined in this guide, you have taken a worn-out table and given it a stunning makeover. Remember to take your time, pay attention to detail, and enjoy the process. With a little bit of effort, you can achieve remarkable results and create a dining area that showcases your personal style and creativity. So, go ahead and invite your friends and family over to admire your beautifully refinished table and enjoy a memorable dining experience together!


