

Have you ever wanted to add a touch of rustic charm to your home decor? Well, look no further because today I will be sharing with you a DIY guide on creating your very own rustic wall shelf. This simple yet stylish project will not only provide you with a functional storage solution but also add a warm and inviting feel to any room. So, grab your tools and let’s get started on this exciting journey of transforming ordinary wood into a beautiful rustic wall shelf that will be the envy of all your friends and family.
Materials Needed
To begin creating a rustic wall shelf, I will need the following materials. First, I will require a wooden plank, preferably reclaimed or distressed for that authentic rustic look. The dimensions of the plank will depend on the size of the shelf you desire. Next, I will need a set of brackets or braces to secure the shelf to the wall. These can be simple metal brackets or decorative accents like wrought iron braces, depending on your personal style and preference.
In addition to the basic materials, you may also want to consider some wall hanging alternatives. For instance, you could use leather straps or rope to hang the shelf instead of brackets, giving it a more unique and bohemian touch. Another option is to use decorative hooks or knobs to hang the shelf, adding a touch of elegance and personality to your space.
Lastly, gather your tools: a drill, screws, a level, and a measuring tape. These will be essential for assembling and mounting the shelf properly. With these materials in hand, you are now ready to embark on your rustic wall shelf project. Let’s get started!
Measuring and Cutting the Wood
I will begin by measuring and cutting the wooden plank for the rustic wall shelf. To ensure accurate measurements, I recommend using measuring techniques such as a tape measure or a ruler. These tools will help you get precise dimensions for your shelf.
Once you have your measurements, it’s time to move on to cutting the wood. For this step, you will need cutting tools like a circular saw or a handsaw. These tools will allow you to cut the wooden plank according to your measurements.
Before starting the cutting process, remember to wear protective gear such as safety goggles and gloves. Safety should always be a top priority when working with cutting tools.
When cutting the wood, make sure to follow your measurements carefully. Double-check the dimensions to avoid any mistakes. Take your time and cut slowly to ensure a clean and accurate cut.
Assembling the Shelf Frame
Now that the wooden plank has been measured and cut, it’s time to assemble the shelf frame. This step is crucial for ensuring the stability and durability of your rustic wall shelf. Here are some assembling techniques to help you create a sturdy frame:
-
Pre-drill the screw holes: Before attaching the pieces together, it’s important to pre-drill the screw holes. This will prevent the wood from splitting and make the assembly process much easier.
-
Use wood glue: Applying wood glue to the joints before screwing them together will add extra strength and stability to the frame. Make sure to spread the glue evenly and wipe off any excess to avoid messy results.
-
Secure with screws: Once the pieces are aligned, use screws to secure them together. Make sure to choose the right size and length of screws for your project to ensure a tight and secure fit.
-
Check for squareness: After assembling the frame, check for squareness by measuring the diagonals. If the measurements are equal, your frame is square and stable. If not, adjust the pieces accordingly until you achieve a square shape.
Adding the Rustic Finish
Now it’s time to give the shelf that rustic look I’ve been envisioning. First, I’ll stain the wood to enhance its natural beauty and add depth to the grain. Then, I’ll distress the surface using techniques like sanding and hammering to create a weathered and aged appearance. Finally, I’ll apply a protective sealant to ensure the finish lasts and the shelf remains durable over time.
Staining the Wood
To achieve the desired rustic finish, consider using a weathered stain on the wood. This will give your wall shelf a worn and aged look that adds character to any room. Here are some helpful tips for staining the wood:
- Choose the right stain color: Opt for earthy tones like gray, brown, or taupe to create a weathered effect.
- Preparing the wood: Sand the surface of the wood to remove any imperfections and ensure a smooth finish.
- Applying the stain: Use a brush or cloth to apply the stain evenly, following the wood’s grain for a natural look.
- Distressing techniques: To achieve a more weathered appearance, consider using techniques like sanding, scraping, or hitting the wood with a chain to create dents and scratches.
Distressing the Surface
To achieve an authentic rustic finish on your wall shelf, distressing techniques can be used to add character and charm. Aging techniques and distressing tools are essential for creating that worn and weathered look that makes a piece truly rustic. One of the simplest techniques is called sanding. By using coarse-grit sandpaper, you can create rough and uneven surfaces, mimicking the effects of natural wear and tear. Another technique is called distressing with a hammer or chains. Gently tapping the surface with a hammer or lightly striking it with chains will create dents and dings, giving the wood an aged appearance. Don’t be afraid to experiment with different distressing tools and techniques to achieve the desired rustic finish for your wall shelf.
Applying a Protective Sealant
After distressing the surface to achieve an authentic rustic finish, the next step in creating a rustic wall shelf is applying a protective sealant to add the final touch of the desired aged appearance. To ensure the longevity and beauty of your shelf, it is crucial to use a high quality sealant. Here are some discussion ideas to consider when choosing the right sealant for your project:
- Importance of using a high quality sealant:
- A high quality sealant provides better protection against moisture, stains, and scratches, ensuring the durability of your shelf.
- It enhances the natural beauty of the wood, bringing out its rich colors and textures.
- Different types of sealants and their pros and cons:
- Oil-based sealants: They offer excellent protection and bring out the natural grain of the wood, but they can take longer to dry.
- Water-based sealants: They dry quickly and have low odor, but may not provide as much protection as oil-based ones.
Consider these factors when choosing a sealant to achieve the perfect rustic look for your wall shelf.
Mounting the Shelf on the Wall
How can I securely attach the rustic wall shelf to the wall using basic tools and materials? When it comes to mounting techniques, there are a few options to consider. One of the most common methods is using wall anchors. These small devices provide extra support and stability, ensuring that your shelf stays securely in place.
To begin, gather your tools: a drill, a level, a screwdriver, and wall anchors suitable for your wall type. Start by holding the shelf against the wall in your desired position. Use the level to ensure it is straight. Once you have determined the placement, mark the spots where the screws will go.
Next, it’s time to install the wall anchors. Using a drill bit slightly smaller than the anchor’s diameter, create holes at the marked spots. Insert the anchors into the holes and tap them gently with a hammer until they are flush with the wall.
Now, align the shelf with the holes and drive the screws through the shelf and into the anchors, using a screwdriver or power drill. Make sure the screws are tightened securely, but be careful not to overtighten and damage the shelf.
With the shelf securely mounted, step back and admire your handiwork. You now have a beautiful rustic wall shelf ready to display your favorite items. Enjoy!
Styling and Decorating the Shelf
When it comes to styling and decorating the rustic wall shelf, there are a few key points to consider. First, choose a color palette that complements the overall aesthetic of the room. Second, think about how you will display decorative items on the shelf to create visual interest and showcase your personal style. Lastly, consider adding natural elements such as plants or woven baskets to bring a touch of nature into the space.
Color Palette Selection
To style and decorate the rustic wall shelf, I carefully selected a complementary color palette. Choosing complementary colors helps create a harmonious and visually pleasing look. Here are four key considerations I took into account:
-
Contrast: I opted for colors that would contrast with the rustic textures of the shelf, such as deep blues and warm oranges. This creates a dynamic and eye-catching display.
-
Earth tones: Incorporating earthy hues like browns, greens, and tans adds to the rustic feel, bringing a touch of nature into the space.
-
Neutrals: To balance out the boldness of the earth tones and create a calming backdrop, I included neutral shades like whites, grays, and beiges.
-
Accents: To add pops of color and personality, I chose a few accent colors that complemented the main palette, like vibrant yellows or rich reds.
Displaying Decorative Items
After carefully selecting a complementary color palette, the next step in styling and decorating the rustic wall shelf is to effectively display decorative items. When it comes to showcasing your cherished pieces, there are a few styling tips that can help create a visually appealing and cohesive look. First, consider using different heights and sizes to add depth and interest to the shelf. Place taller items towards the back and smaller ones in the front. Additionally, try incorporating DIY alternatives such as repurposed mason jars or vintage crates to add a unique touch. Grouping similar items together, such as a collection of candles or small plants, can create a cohesive and organized display. Lastly, remember to leave some empty space to avoid overcrowding and allow each item to shine.
Adding Natural Elements
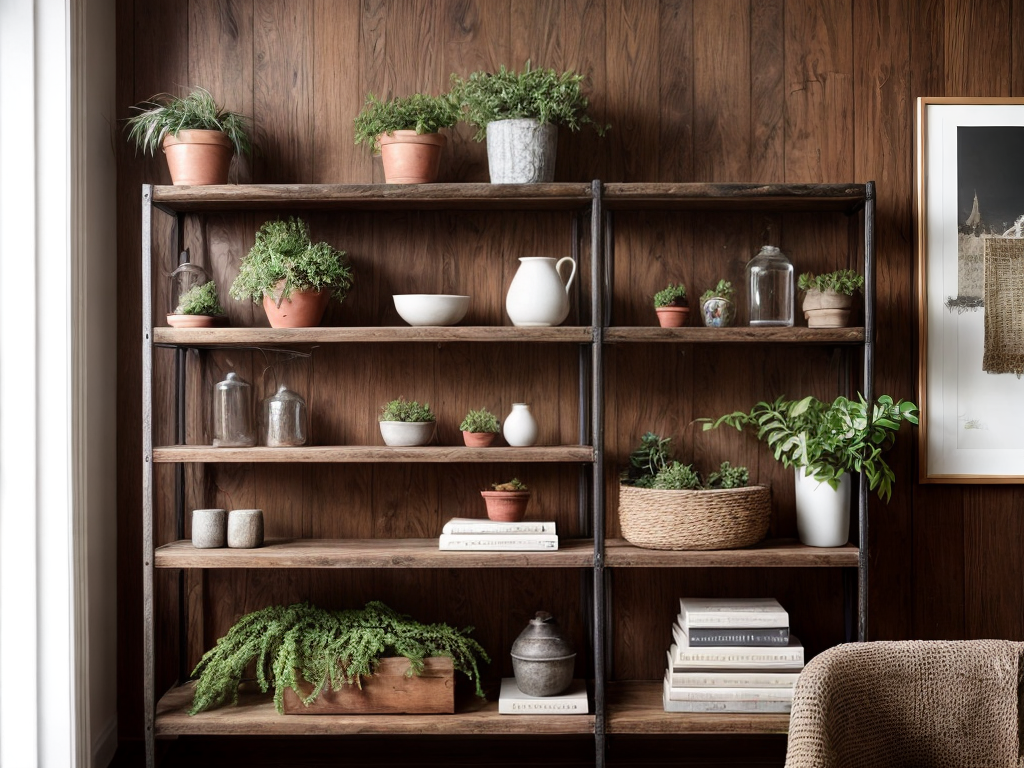
To achieve a natural and rustic look, I highly recommend incorporating elements from nature when styling and decorating your shelf. By using reclaimed materials and incorporating live plants, you can create a warm and inviting atmosphere that brings the outdoors inside. Here are four ideas to help you add natural elements to your rustic wall shelf:
-
Use reclaimed wood or old barn boards to create the shelf itself. Not only does this give your shelf a unique and rustic look, but it also helps reduce waste and gives new life to old materials.
-
Decorate your shelf with natural accents such as pinecones, dried flowers, or seashells. These elements add a touch of nature and can be easily changed depending on the season or your mood.
-
Place live plants on your shelf to bring a sense of life and freshness to the space. Consider using small potted herbs or succulents that require minimal maintenance and add a pop of greenery.
-
Hang a small macrame plant hanger from your shelf to create a bohemian vibe and showcase a hanging plant. This adds visual interest and adds another layer of natural elements to your shelf display.


