

When it comes to customizing a wooden dining table, the possibilities are endless. From intricate carvings to unique designs, the art of personalizing a table can transform it into a one-of-a-kind piece that reflects your style and taste. But where do you start? How do you bring your vision to life? In this discussion, I’ll guide you through the process of customizing a wooden dining table, from selecting the right design to the finishing touches that will make your creation truly stand out. So, whether you’re a seasoned woodworker or a novice looking to embark on a new project, get ready to unleash your creativity and elevate your dining experience.
Benefits of Customization
Customizing a wooden dining table offers numerous benefits that enhance both functionality and aesthetic appeal. The benefits of personalization are truly remarkable. By adding unique details to your dining table, you can transform it into a true reflection of your personal style and taste.
One of the major benefits of customization is the ability to create a one-of-a-kind piece that stands out from the crowd. Whether it’s adding intricate carvings or incorporating personalized engravings, these unique details make your dining table truly special. It becomes a statement piece that adds character and personality to your space.
Furthermore, customization allows you to tailor your dining table to your specific needs. You can choose the size, shape, and layout that best suits your space and lifestyle. This ensures that your table not only looks great but also functions optimally. Whether you need extra storage, extendable options, or specific finishes, customization allows you to have it all.
In addition, personalizing your dining table creates a sense of intimacy and connection. It becomes a piece that holds memories and tells stories. From family gatherings to special occasions, your customized table becomes the backdrop for cherished moments shared with loved ones.
Choosing the Right Design
After considering the benefits of customization, it is important to carefully choose the design that will best suit your personal style and enhance the overall aesthetic of your dining space. Exploring design options can be an exciting and creative process. Here are five key considerations to help you make the right choice:
- Reflect your personality: Look for a design that resonates with your unique taste and brings out your individuality. Whether you prefer classic elegance or contemporary minimalism, your dining table should be a reflection of who you are.
- Harmonize with your existing decor: Consider the style and color scheme of your dining room. A well-designed table should seamlessly blend with the surrounding elements, creating a cohesive and visually pleasing ambiance.
- Make a statement: If you want your dining table to be the centerpiece of your space, opt for a design that stands out and makes a statement. Intricate carvings or bold patterns can add a touch of drama and elevate the overall aesthetic.
- Seek inspiration: Look for inspiration in design magazines, online platforms, or even nature itself. Let your imagination run wild and explore different artistic influences to find a design that truly speaks to you.
- Find skilled artisans: To bring your chosen design to life, it is crucial to find skilled artisans who can execute it with precision and craftsmanship. Research local woodworkers or furniture makers with experience in intricate carvings to ensure the final product exceeds your expectations.
Preparing the Wooden Table Surface
First, I begin by sanding the table to create a smooth and even surface. Then, I apply wood conditioner to prepare the wood for staining or painting. Finally, I consider the carving design that will personalize the table and make it truly unique.
Sanding the Table
To prepare the wooden table surface, the first step is to sand it thoroughly. Sanding is a crucial step in achieving a smooth and polished finish for your dining table. Here are some sanding techniques and tips to ensure exceptional results:
- Start with coarse sandpaper: Begin by using a coarse-grit sandpaper to remove any imperfections or rough spots on the table surface. This will create a uniform base for further sanding.
- Progress to finer grits: Gradually move to finer grit sandpapers to smoothen the surface and eliminate any visible scratches or marks left by the coarse sandpaper.
- Sand in the direction of the grain: Always sand in the direction of the wood grain for a more even and professional-looking finish.
- Use a sanding block: A sanding block provides better control and even pressure, resulting in a more consistent sanding process.
- Choose the right sandpaper: Consider the type of wood and the desired finish when selecting sandpaper. Coarser grits are ideal for initial sanding, while finer grits are suitable for achieving a polished look.
Applying Wood Conditioner
Now that the table has been thoroughly sanded, the next step in preparing the wooden surface involves applying wood conditioner. Wood conditioner is a crucial step in enhancing the beauty and longevity of your dining table. It provides several benefits, such as preventing the wood from absorbing too much stain or paint, ensuring an even finish, and reducing the appearance of blotchiness. To apply wood conditioner, start by stirring the product well and then using a clean cloth or brush to evenly spread it onto the surface. Make sure to work in small sections and apply the conditioner in the direction of the wood grain. Allow the conditioner to penetrate the wood for the recommended time, usually around 15 minutes, before wiping off any excess. This step will help create a smooth and flawless finish for your dining table.
Choosing a Carving Design
I carefully consider the carving design I want to add to the wooden table surface. The choice of carving design is crucial as it sets the tone and personality of the table. Here are some carving design techniques and considerations that ignite a sense of intimacy and emotion in the audience:
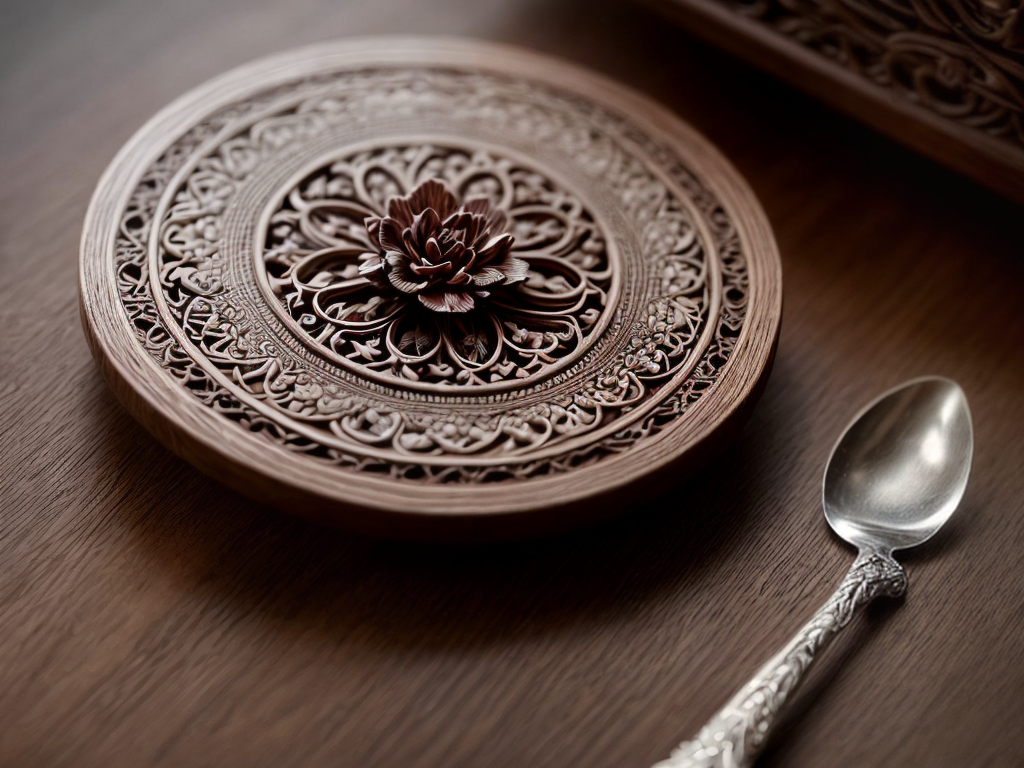
- Nature-inspired motifs: Incorporating elements like leaves, flowers, or wildlife brings a touch of tranquility and a connection to the natural world.
- Intricate filigree: Delicate and intricate patterns evoke a sense of elegance and sophistication, adding a touch of luxury to the table.
- Personalized monograms: Including initials or names in the carving design creates a personalized and sentimental touch, perfect for family heirlooms.
- Symbolic representations: Carvings that symbolize love, unity, or strength can evoke strong emotions and create a meaningful connection with the table.
- Geometric patterns: Clean lines and symmetrical shapes bring a sense of balance and harmony to the table, creating a contemporary and modern look.
Tools and Materials Needed
Now let’s talk about the tools and materials you’ll need to customize your wooden dining table. This includes finding carving design inspiration and following a step-by-step carving process. By having the right tools and materials at hand, you’ll be able to create a unique and personalized design that will truly enhance your dining experience.
Carving Design Inspiration
To gather inspiration for carving designs, consider the tools and materials needed for the project. When exploring carving techniques and historical carving styles, I found that the following items can evoke a sense of creativity and intimacy:
- A set of high-quality carving chisels: These tools allow for precise and intricate detailing, bringing your design to life.
- Various types of wood: Experiment with different wood species to create unique textures and patterns.
- Reference books or online resources: Explore historical carving styles and adapt them to suit your own vision.
- Sketchbook and pencils: Sketching your ideas helps you visualize the final design and make adjustments along the way.
- Nature and architecture: Take inspiration from the organic shapes found in nature or the intricate carvings adorning ancient buildings.
Step-By-Step Carving Process
For the step-by-step carving process, you will need a variety of tools and materials to ensure precision and bring your design to life. When it comes to carving techniques, the tools you choose will play a crucial role in achieving the desired result. A set of carving knives with different blade shapes and sizes is essential for creating intricate details and smooth curves. Additionally, a carving mallet will help you exert controlled force while working on harder woods. To ensure accuracy, a set of carving gouges and chisels will allow you to remove larger areas of wood and create depth in your design. Don’t forget to have a sharpening stone on hand to keep your tools in top condition. With the right tools for carving, you’ll be able to bring your vision to reality with precision and finesse.
Step-By-Step Carving Process
I start by selecting the design for the carving on the wooden dining table. It’s an exciting process, as I carefully consider the style and intricacy that will enhance the table’s beauty. To evoke emotion in you, my dear reader, here are a few things that make this step truly special:
- The rich, warm colors of the wood bring a sense of natural warmth and homeliness to the table.
- The touch of the carving, with its smooth curves and intricate details, invites you to run your fingers along its surface, creating a tactile connection.
- The choice of wood type can evoke a rustic charm or a refined elegance, depending on your personal taste and the overall aesthetic of your dining space.
- The different carving techniques and styles allow for a wide range of artistic expression, from delicate and precise to bold and dramatic, ensuring that your table becomes a true centerpiece.
- Each carving design is unique and can reflect your personality, interests, or even tell a story, making the table a conversation starter and a reflection of your individuality.
With these elements in mind, I embark on the step-by-step process of bringing the chosen design to life, transforming a simple wooden dining table into a personalized work of art.
Finishing and Protecting the Carved Table
After completing the carving process, the next step is to apply a finish and protective coating to the wooden dining table. This step is crucial in ensuring the longevity and beauty of your newly customized piece. By protecting the carved table, you are not only safeguarding it from everyday wear and tear but also enhancing its overall appearance.
To protect the carved table, it is essential to choose the right finish. There are various options available, including varnish, lacquer, or polyurethane. Each has its advantages, so it’s important to consider factors such as durability, ease of application, and the desired look. I prefer using a polyurethane finish for its excellent protection, ease of maintenance, and the beautiful sheen it provides.
Before applying the finish, make sure to clean the table thoroughly, removing any dust or debris that may have accumulated during the carving process. This will ensure a smooth and even application. Once the table is clean, apply the protective coating using a brush or a sponge, following the manufacturer’s instructions.
Maintaining the carved table is just as important as protecting it. Regular cleaning with a soft, damp cloth is usually sufficient to keep the table looking its best. Avoid using harsh chemicals or abrasive cleaners, as they can damage the finish. Additionally, it’s a good idea to periodically reapply a fresh coat of protective finish to maintain its longevity.
Showcasing and Maintaining Your Customized Table
Now that the carved table has been protected with a durable finish, it’s time to focus on showcasing and maintaining its customized beauty. Your customized table is a reflection of your personal style and creativity, and it deserves to be displayed and cared for with the utmost attention. Here are some tips to help you maintain and showcase your one-of-a-kind piece:
- Regular dusting: Keep your customized table looking its best by regularly dusting it with a soft cloth. This simple act not only maintains its cleanliness but also allows the intricate carvings to shine.
- Avoid direct sunlight: Protect your table from fading or discoloration by keeping it away from direct sunlight. Consider placing it in a well-lit area that doesn’t receive direct sunlight or use curtains or blinds to shield it when necessary.
- Use coasters and placemats: Protect the surface of your customized table from scratches and spills by using coasters for drinks and placemats for plates and utensils. This small step goes a long way in preserving its pristine condition.
- Regular cleaning: For routine cleaning, use a mild soap and water solution to gently wipe down the surface of your table. Avoid using harsh chemicals or abrasive cleaners that can damage the finish.
- Professional maintenance: Consider hiring a professional to periodically inspect and maintain your customized table. They can provide expert advice on any necessary repairs or refinishing to ensure its longevity.


